
Even though I frequently tackle projects I’ve pinned, there was one particularly big project I completed last month: A t-shirt quilt! (Select any of the pictures in this post and you should be able to view them bigger.)
First, I pinned 10 different inspiration quilts.
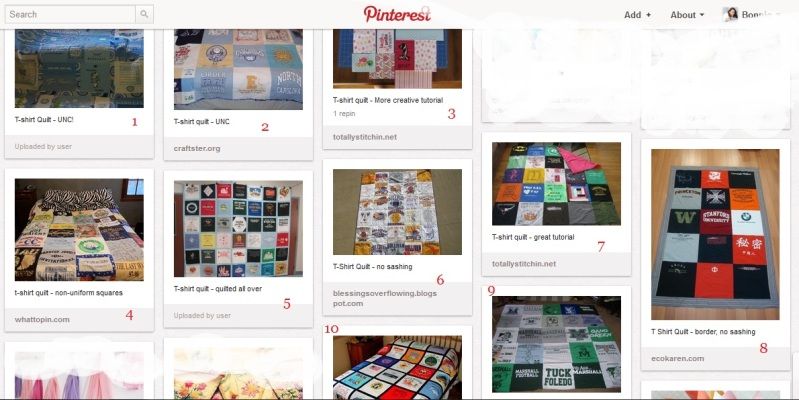
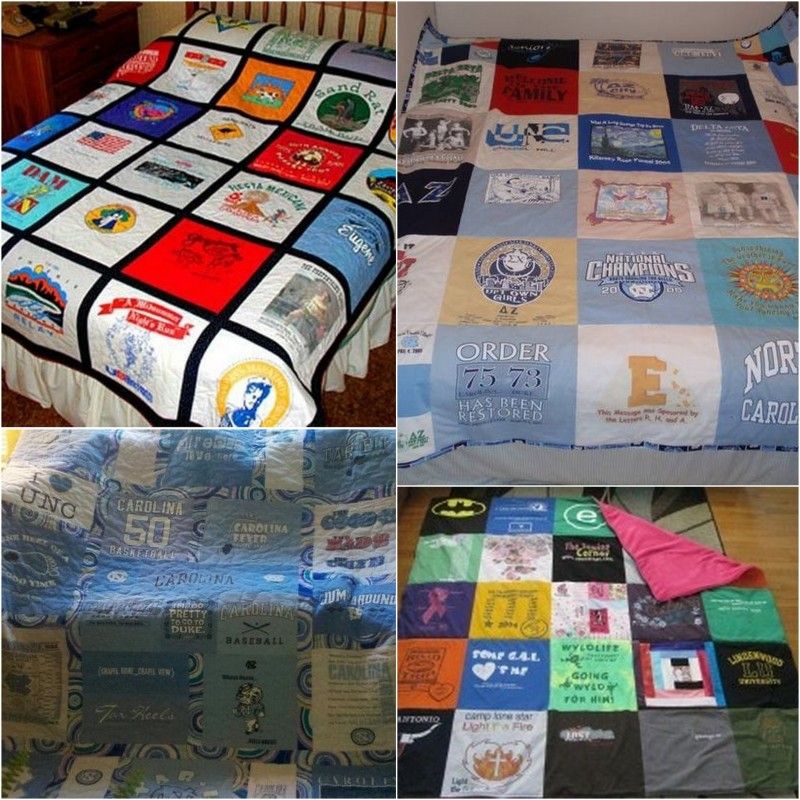
And after lots of thought, of course, I drew the most inspiration and help from four of them.
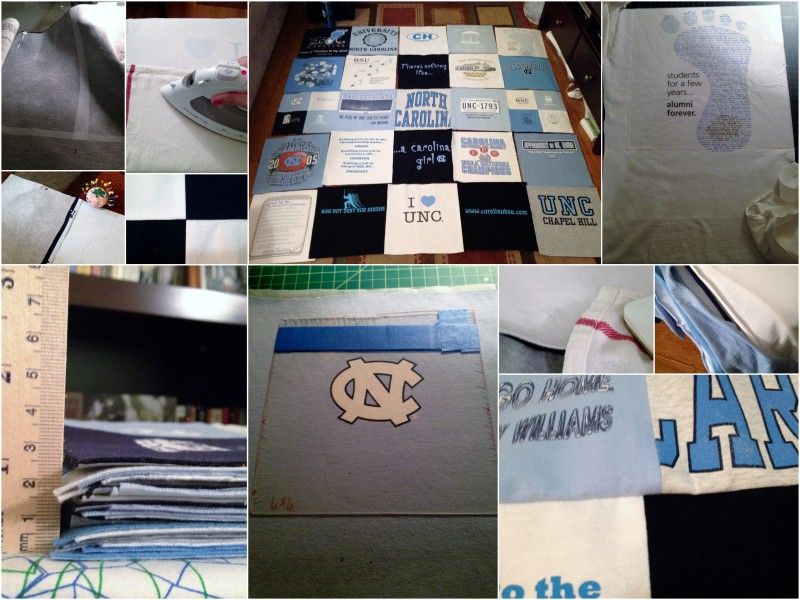
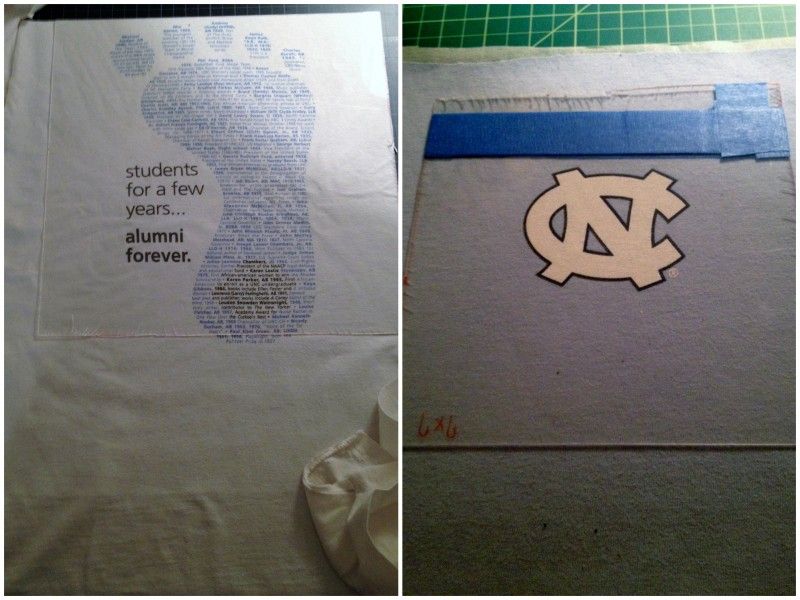
Top right: This was a UNC one that I first found years ago and it was good inspiration.
Bottom left: Another UNC one that was good for inspiration.
Bottom right: Good instructions on this one.
I'd been wanting to make a t-shirt quilt for a long time. But just the thought of cutting up any of my UNC shirts made me very uncomfortable. However, since so many of these were just sitting in a bag in a closet in North Carolina, I thought it would be so much better to get some use out of them.
Rules for the quilt:
- Shirts had to come from when I was in college, none of the shirts I've bought after.
- With the exception of the one in the center.
- I wanted to represent the most important things to me about college: my classes, basketball, BSU, and Chapel Hill itself.
- Some 2005 National Championship shirts had to be included. I included three of the six I bought. (Perhaps excessive, but I only bought two in 2009.)
- I needed to leave enough that are meaningful, for any potential dogs or children to wear one day.
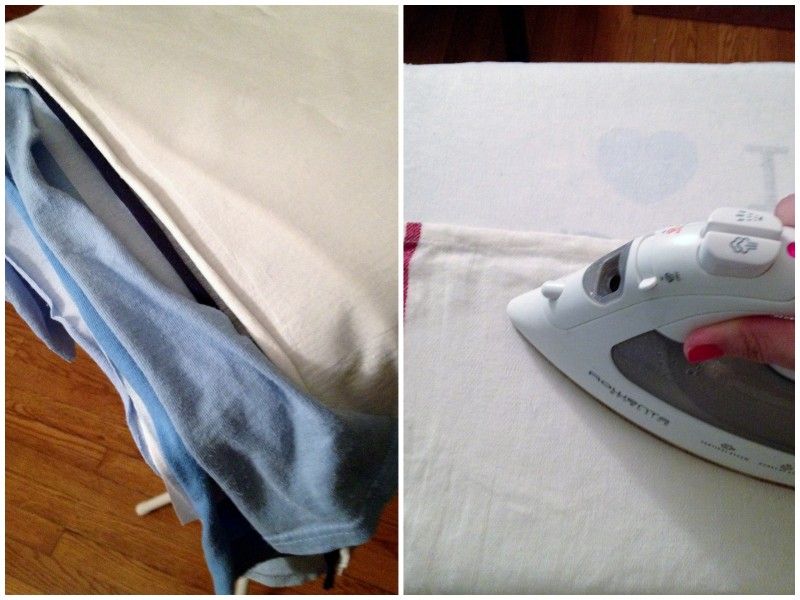
All the ironing of the interfacing was incredibly time consuming. And very, very boring.
Then it was time for one of the fun parts: cutting out the shirts. I took the plastic from a picture frame I was donating and cut two squares, one for the shirts and one for the pockets. This worked really well and helped me be more precise.
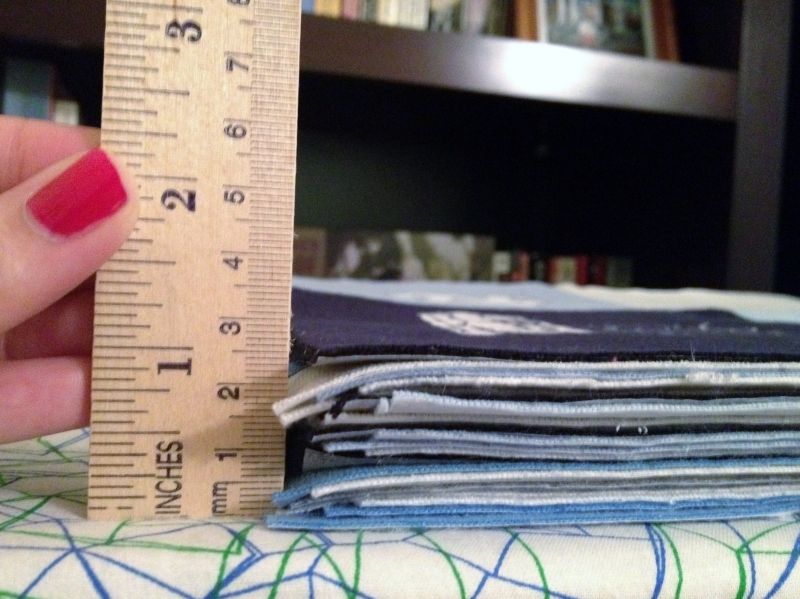
The cut stack was nearly 2 inches high.
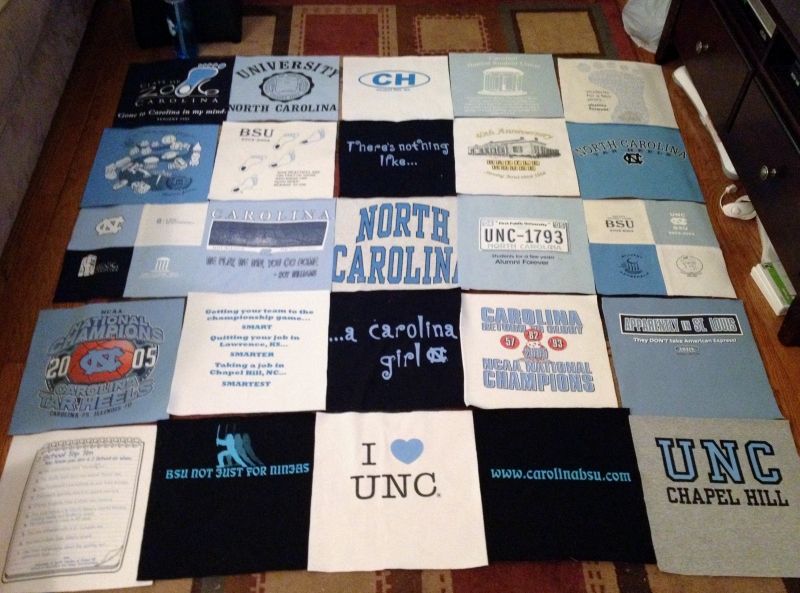
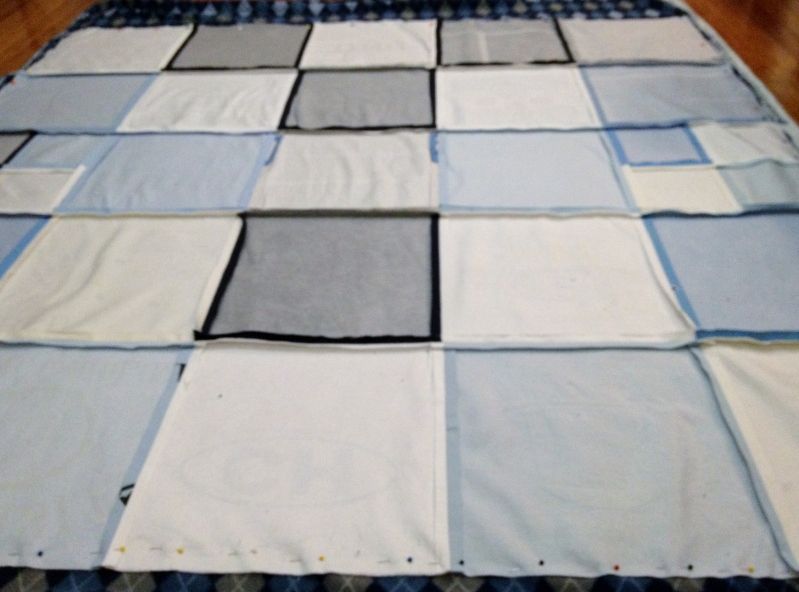
Finally it was time to lay it out. And it only took me two tries! I'm mainly just glad that all the colors go so well together, even though there are at least four different shades of Carolina blue. I was worried the pocket pieces would look too messy, but I really like them.
It's a square, which wasn't my first choice, but it ended up working out the best.
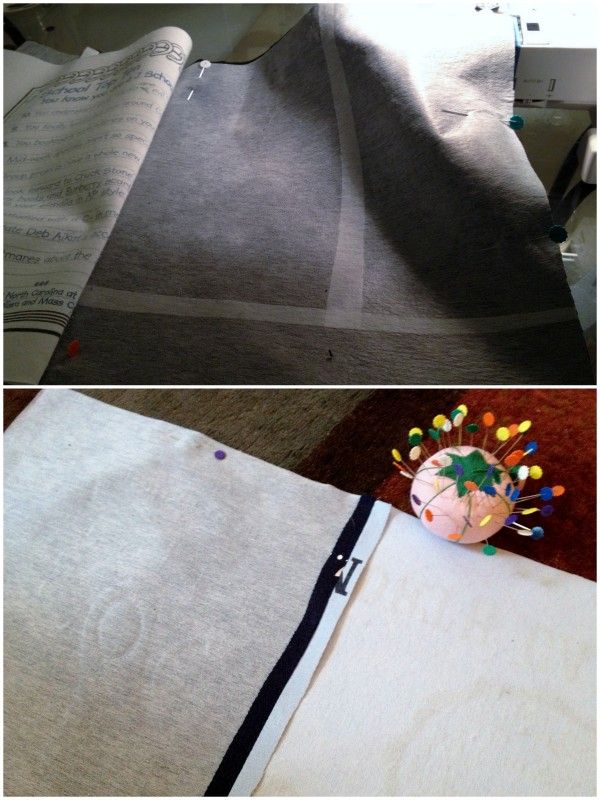
Then it was time for the first round of pinning. First of many rounds. I did nearly as much pinning as I did sewing, which I know was smart in the long run, but also very boring.
I sewed into rows and then columns. I thought I was precise in my measurements, but sometimes this happened.
Sometimes I could fix it and sometimes I couldn’t. But that just means it’s definitely homemade!
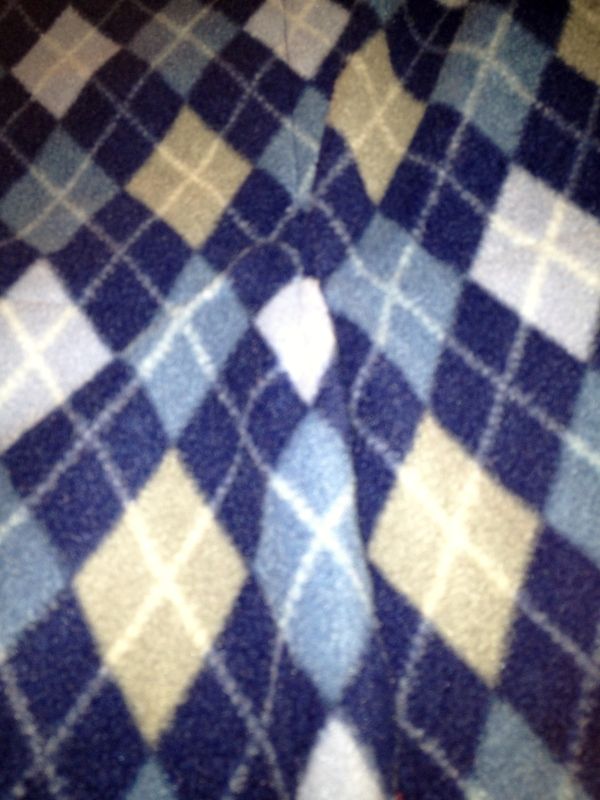
Time to sew to the backing! The fabric is anti-pill microfleece from Joanns that I ordered online. It was just wide enough that I didn't have to piece anything. And what's more Carolina than argyle?
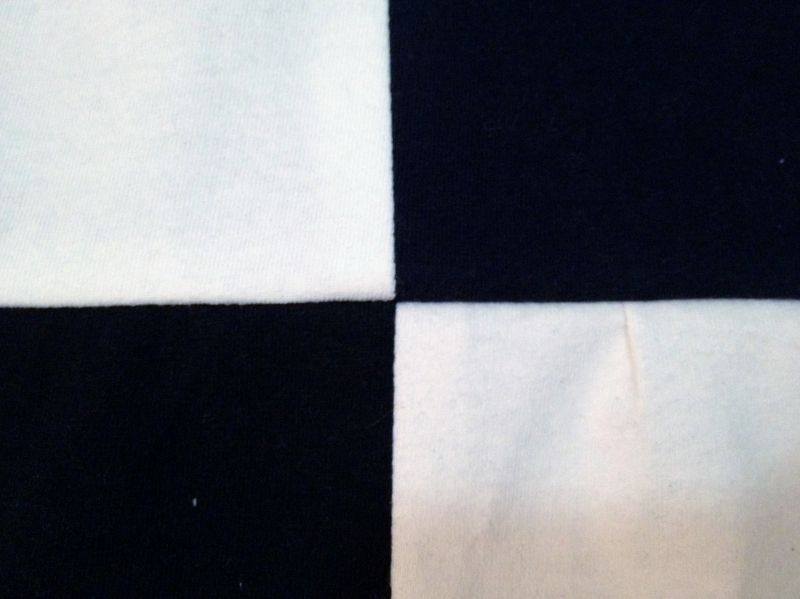
It's not perfect, and that's ok. (No, really, it's ok, get off my back!) I'll show you a glimpse of the worst not-perfect part: the back. But, I mean, no one wants to look at the back anyway.
It was a bit unwieldy to quilt all the rows and columns. I actually weighed it and it weighs...2.5 pounds! It kind of surprised me because it's just t-shirts, lightweight interfacing, and fleece.

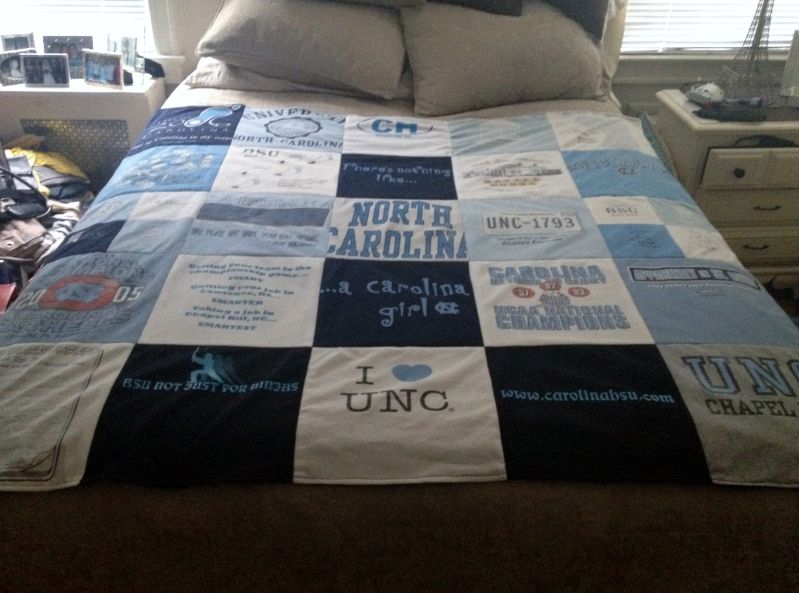
And this is the final product. I'm not going to lie, I'm really quite proud of this quilt, and every time I look at it I smile. Crooked sewing and wonky backing and all.
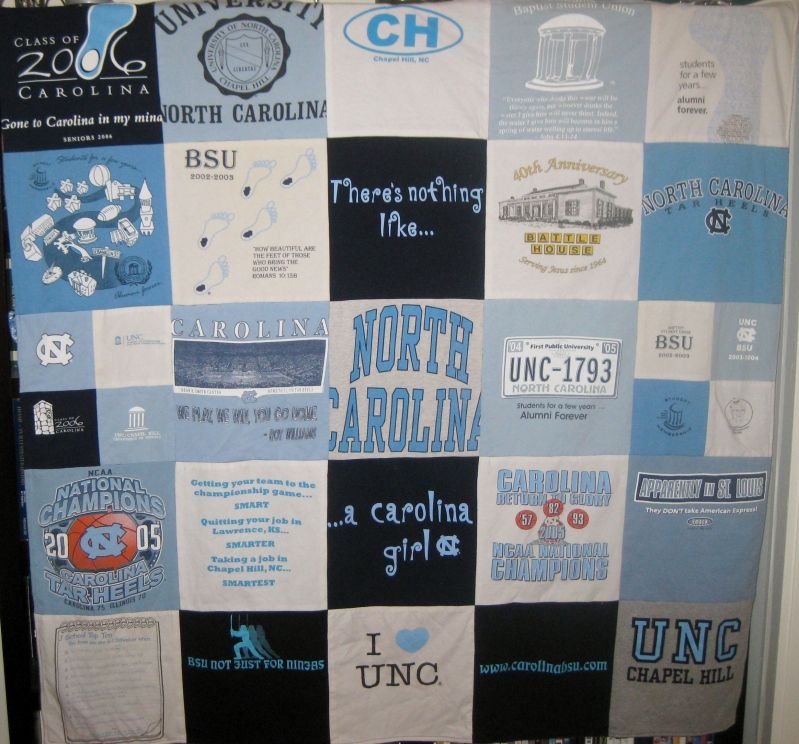
And for size, it’s the width of my queen-size bed. A little too short for my tallness, but I just love it.
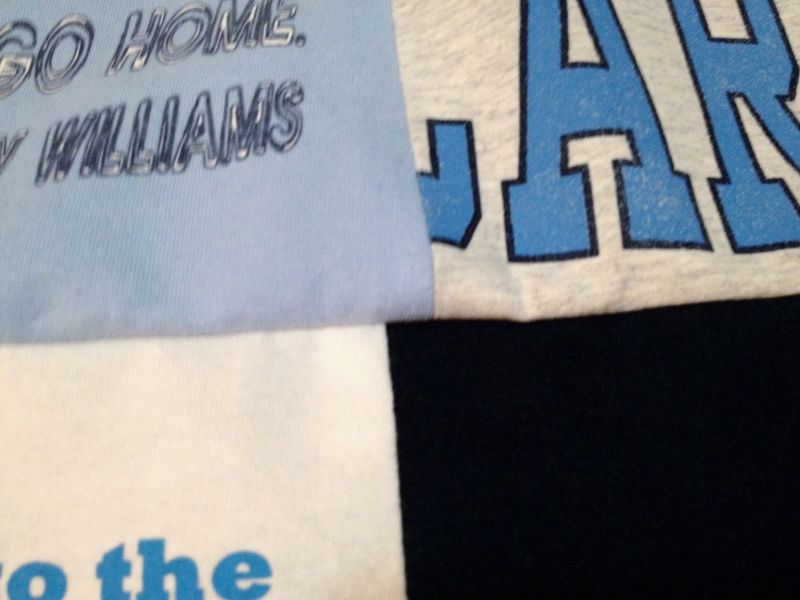
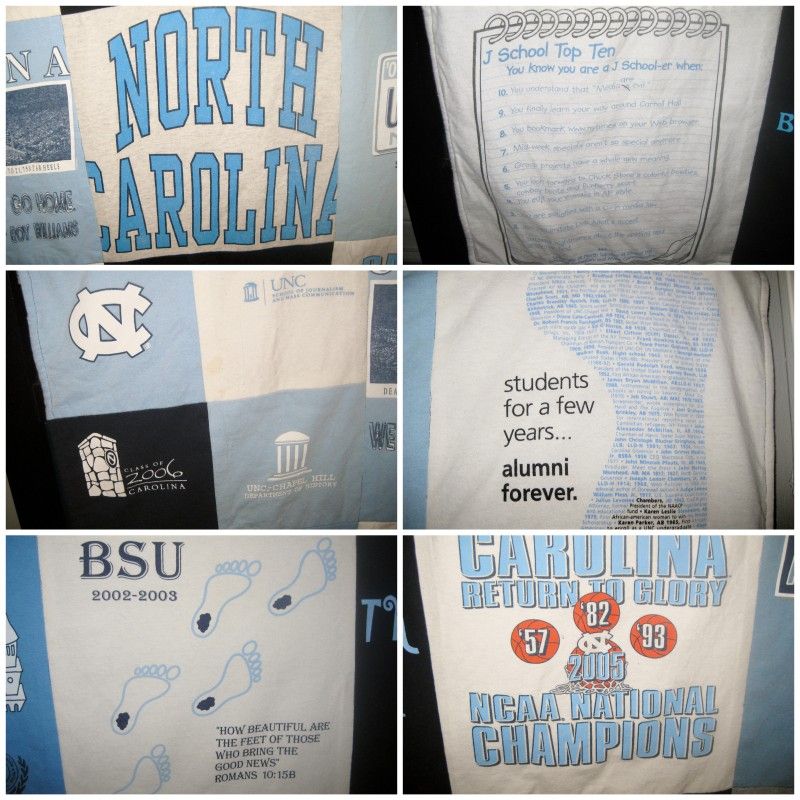
Here are a few of my most favorite squares, though really, they are all my favorite.
The shirt in the top left of this picture, and in the center of the quilt, was my Poppa’s. I got it after he died and used to sleep in it all the time. But then I got a hole in the arm and stopped wearing it so it wouldn’t fall apart. I completely forgot about it until I found it in the bag. This one was the hardest to cut up, but I'm so glad I did. It’s a lot better than having it sit in my closet.
And that’s my quilt! I know this is quite wordy but I spent all that time making it and documenting it, so I wanted to share, even if just with me.
I'm glad you shared this on YHL - I've pinned t-shirt quilts before but have never been brave enough to try one. This turn out great! I love it that you have a theme to the quilt, too.
ReplyDeleteImpressive expression of you and your project experience. I felt honored to get your firsthand input, and you may have just given me the boost I needed to feed my inspiration! Beautiful quilt by the way... and that did not happen by accident. Great work!
ReplyDelete